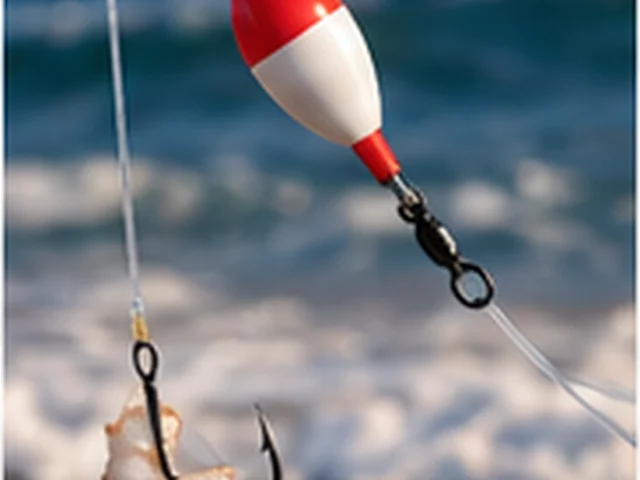
Slip Bobber Rig Diagram & Gear List
A bobber that slides freely on the line until it hits an adjustable stop knot, letting you fish any depth while still casting easily. Ideal for suspending live bait over structure.
Also known as: Slip Float Rig (US, CA), Sliding Float Rig (GB, IE, AU, NZ)
- Where to use it
- pier, jetty, boat, kayak
- Difficulty
- beginner
Gear List
- main Line8-12 lb monofilament
- leader12 lb fluorocarbon
- leader Length18-30in from float down to hook, this sets your fishing depth
- hook Range#6 - #1 live bait hook
- weight TypeSplit shot, 1-3 pieces
- sinker Drop LengthSplit shot placed 8-12in above the hook along the leader
- extrasSlip bobber stop knot, Slip float
How to tie the Slip Bobber Rig
- Tie a bobber stop knot (or slide on a rubber stop) on the main line at your fishing depth.
- Thread on a small bead, then the slip float.
- Add 1-3 split shot 8-12in above where the hook will sit.
- Tie on a #6 - #1 live bait hook; when cast, the float slides down and the bait sinks until the stop reaches the float.
When and where it works best
Water deeper than your rod length, where a fixed float would be impossible to cast.
Is the Slip Bobber Rig good for beginners?
Yes. It is rated beginner: quick to tie and forgiving to fish. Practice the connections in the knot guide, and see the Pier Rod for a matching rod.
What fish is the Slip Bobber Rig good for?
Related Rigs
Common Questions
What do I need to tie a Slip Bobber Rig?
A 8-12 lb monofilament main line, a 12 lb fluorocarbon leader (18-30in from float down to hook, this sets your fishing depth), a #6 - #1 live bait hook hook, and a Split shot, 1-3 pieces. Full gear list is above.
What is a Slip Bobber Rig best for?
The Slip Bobber Rig works best for pier, jetty, boat, kayak fishing, and is a recommended setup for White Seabass, Pacific Barracuda, Blackfin Tuna, John Dory. Difficulty: beginner.
Is the Slip Bobber Rig hard to tie?
It is rated beginner. The knot guide covers the terminal connections used across RigMyFish rigs, so you can practice each connection separately before building the full setup.